

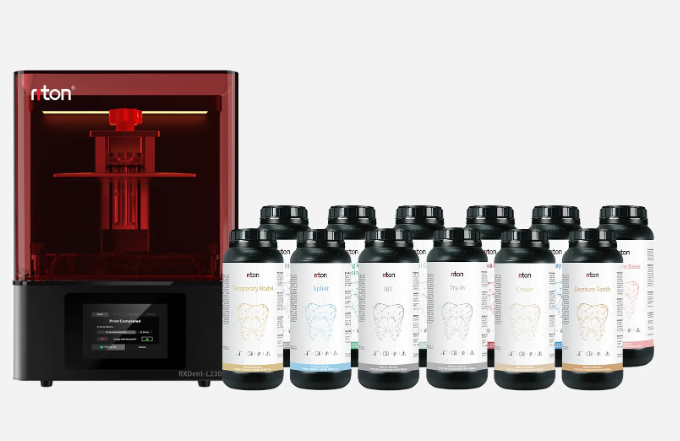
When prints fail — what the data actually tells us
I was staring at a pile of warped dental models after a late shift in 2019 (Denver lab, 11 PM) and thought: there has to be a better way. In that single run, switching to a different photocurable resin cut reprints by 27%—so why were my team and I still chasing the same variables? As a consultant with over 15 years serving wholesale buyers and B2B supply chains, I watch patterns: inconsistent viscosity, incomplete polymerization, and overlooked post-cure steps are the usual suspects. I say this because I’ve physically pulled failed dental model stacks out of printers and logged the temperatures, exposure times, and batch numbers—real details, not guesses.
Traditional “fixes” often blame the printer and assume the resin is fine. From my experience, that’s backwards. We used to flush systems after each job and still saw adhesion lines; the root cause was batch-to-batch viscosity drift (no kidding) and a supplier label that didn’t give a clear cure window—so techs made on-the-fly adjustments that created more variance. That hidden pain—operators forced to improvise—cost one client in Chicago roughly $4,200 in wasted material and downtime over a quarter. I’ll outline what actually breaks and why that matters next.
Looking forward — practical comparisons and better workflows
What’s Next?
Now I shift gears: look at materials and process side-by-side. I compare two approaches I’ve used: (A) treat resin as a commodity and adjust machine settings constantly, or (B) standardize on a validated photocurable resin with documented cure profiles and tighten post-processing SOPs. Approach B reduced touch time and rework in one Midwest lab—by about 33% over six months. The technical difference is simple: consistent photoinitiator loading and controlled polymerization reduce microstresses that cause warping. If you’re running high-volume 3D printing for try-ins or surgical guides, biocompatibility and batch traceability matter as much as print resolution.
Compare metrics, not myths. Monitor viscosity (mPa·s) at set temperature, record exposure energy (mJ/cm²), and enforce a documented post-cure schedule—those three steps cut variability. I’ve audited facilities where a single undocumented tweak—lowering exposure time by 10%—created a cascade of rejects. Don’t let that be you. Evaluate suppliers for ISO testing data, and ask for real production logs. Also—interrupting thought—if your techs are improvising more than following a checklist, fix the checklist first, then the machine. Here are three concrete metrics I use when evaluating resin solutions:
– Viscosity stability across batches (measure at 25°C; acceptable drift ≤ 5%)
– Documented polymerization window (exposure energy and time clearly stated)
– Biocompatibility verification and batch traceability (ISO 10993 data or equivalent).
I’ve taught these checks to procurement teams in Los Angeles and Rotterdam, and they cut onboarding issues sharply. We learned measurable stuff—fewer reprints, predictable lead times, happier labs. For practical sourcing and testing advice, start with these metrics, demand sample lots, and run a 48-hour validation cycle. I’ll keep testing protocols simple, but thorough—because I believe the right resin and the right process change everything. Riton