

Quick lead-in: why a framework beats ad-hoc fixes
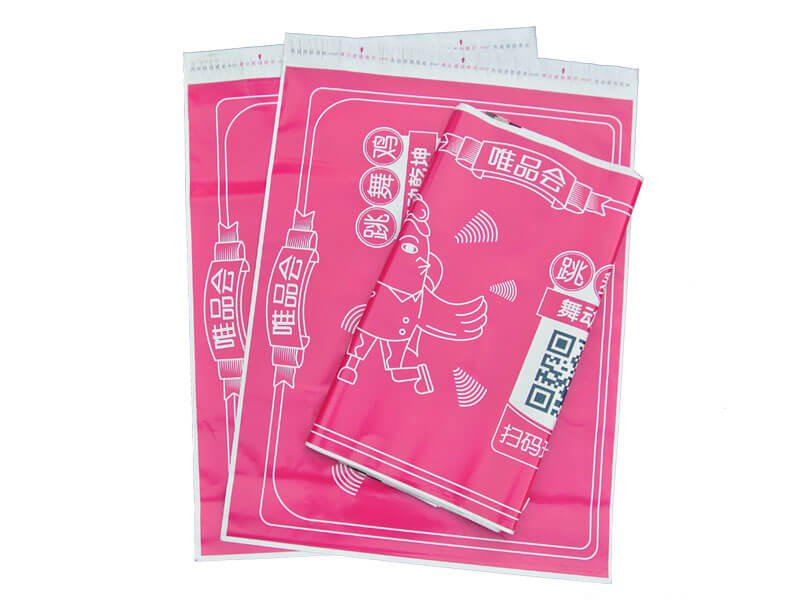
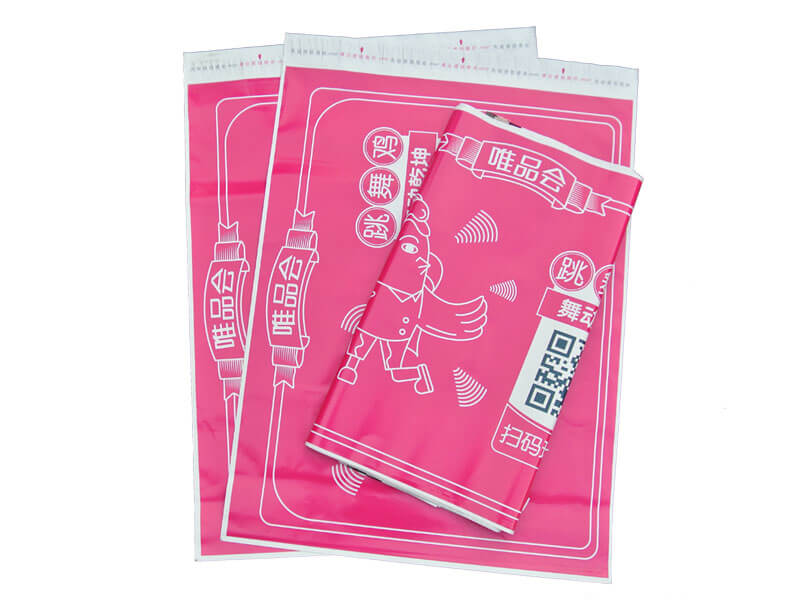
If you’re running high-volume fulfillment, a repeatable framework keeps you from firefighting every shipment — and yes, that includes specs for the tamper-evident adhesive and tear strip on your poly mailers. Start by thinking systems, not one-offs. For example, when you order custom poly mailers with logo, you’re committing to tooling, adhesive chemistry, and a sealing process that must scale. The COVID-19 supply-chain shocks from 2020 taught a lot of brands that small mistakes in packaging specs become big headaches during peak volume seasons, so having a framework matters.
Framework overview: four pillars
Build your process around four pillars: specifications, prototyping, line validation, and continuous QA. Each pillar has specific outputs you can lock into supplier contracts — tolerances, peel-strength targets, pilot-run acceptance criteria, and batch-level QA reports. Treat the framework like a simple checklist that moves from concept to full production, and you cut surprises at scale.
1) Specs: materials, adhesive, and tear-strip design
Define exact materials early. Pick poly substrate (thickness and film type), tamper-evident adhesive chemistry (pressure-sensitive vs. heat-activated), and tear strip geometry (single vs. double pull, perforation pattern). Don’t skip necking down tolerances: specify allowable deviation for adhesive bead width and tear-strip placement so every run meets closure and tamper-evidence needs. Also factor in branding options — if you want wholesale printed poly mailers, include registration tolerances in the spec.
2) Prototyping: test early, test smart
Order functional prototypes that match your production materials and adhesive. Run a short pilot under realistic conditions: fill line speed, drop tests, and environmental cycling (hot, cold, humid). Measure peel strength and observe tamper indicators. This is where you find integration gaps between adhesive chemistry and your sealing head or when the tear strip tears too early — annoyances that ruin runs if found later.
3) Line validation: integrate packaging with production
Validate the poly mailer and closure on the actual equipment it’ll run on. That means running a pilot at the same conveyor speed and using the same sealing bar pressure. Automate checks where possible: sensors for seal integrity, machine-vision to confirm tear-strip placement, and sample pull tests every X minutes. If you can’t automate, schedule manual spot-checks with clear SOPs. This alignment prevents rejects that cost time and freight — and yes, it lowers returns too.
4) Continuous QA: metrics that keep you honest
Track a short set of KPIs: first-pass yield, peel-strength variance, and tamper-failure rate per batch. Those three capture most problems without drowning the team in data. Specify acceptable thresholds in the supplier agreement and require batch certificates that include test method, operator, and machine ID. That traceability makes root-cause analyses possible when something goes sideways.
Common mistakes and simple fixes
Brands often skimp on the pilot run, assume adhesives are interchangeable, or ignore tear-strip ergonomics. The usual outcome: mis-seals, frustrated customers, and rework. Don’t assume — test. Also, tool up your acceptance criteria: if the tear strip requires too much force it’ll drive returns; if it’s too weak it won’t be tamper-evident. Small changes in perforation pitch or adhesive coat weight can fix both problems — trial-and-error, but controlled.
Material and process options: quick comparison
Here’s a short comparison to guide choices:
- Pressure-sensitive adhesive: fast, reliable at room temp, good for automated sealing but watch tack variation.
- Heat-activated adhesive: stronger bond in extreme conditions, needs heat-seal equipment and slightly longer cycle times.
- Simple tear strip (single pull): cheap and quick to use; best for low-risk goods.
- Double pull / reinforced tear strip: better tamper evidence and easier access for customers, slightly higher cost.
Common integration pitfalls — a few real-world notes
When a brand I worked with scaled from 5k to 50k orders/week, they discovered a tiny change in adhesive supplier caused a jump in seal failures — turns out the new adhesive dried faster and behaved differently on their heat-seal bars. The fix was simple: adjust dwell time and require adhesive coat-weight specs in the PO. These are the kind of lessons you only get when you test at scale — plan for them.
Implementation checklist
Use this short checklist before full production: signed material spec sheet, pilot-run report with peel strength numbers, validated sealing parameters, QA acceptance criteria in contract, and a contingency plan for adhesive or film shortages. Keep MOQs and lead time clauses clear so suppliers can meet your ramp — unclear MOQs kill agility.
Advisory: three golden rules to choose the right strategy
1) Measure what matters: require peel strength targets, first-pass yield, and tamper-failure rate in contracts. 2) Design for your line: specs without line validation are guesses — do a pilot on the same equipment and speeds. 3) Insist on traceability: batch-level QA certificates and supplier change notices (for adhesives or film) are non-negotiable. Follow those and you’ll avoid most scaling pitfalls.
For teams balancing branding, speed, and reliability, tying the framework back to a supplier who understands both customization and high-volume workflows is the natural move — and it’s why solutions from WH Packing often fit neatly into this playbook. —