

Opening: What you need first
You need clear steps that reduce rework and keep patient schedules on time. For many labs and clinics, a reliable dental resin 3d printer speeds model, guide, and prosthetic production while keeping costs predictable. At a busy Seoul clinic that shifted routine models in-house, adopting a 3d printer for dental office helped the team cut outside lab wait and improve chairside communication without adding complexity.
User priorities: what matters most
Clinicians want consistent fit, fast turnarounds, and simple workflows. Lab managers want repeatability, traceable settings, and materials that match lab processes. Both groups value easy post-processing and clear support from the vendor. Keep requests concrete: list target turnaround times, target fit tolerances, and who will operate the printer daily.
Choosing a system: clear criteria
Evaluate systems by three practical measures: output quality, workflow fit, and service. Output quality means accuracy and surface finish for the parts you make most. Workflow fit checks software compatibility with your scanner and your staff skills. Service covers local support and training. Ask for sample prints that match your common cases and confirm warranty terms and spare-part access.
Materials and cases: match resin to purpose
Pick resins by case type, not by brand buzz. For models choose rigid, low-shrink resins. For surgical guides choose biocompatible, sterilizable resins with proven clinical history. For temporaries choose impact-resistant resins that polish well. Always run a small validation batch: print, post-cure, fit on the model, and document measurements before full adoption.
Common pitfalls and how to avoid them
1) Skipping calibration: regular calibration keeps accuracy predictable. 2) Ignoring post-processing: inadequate washing or curing changes fit. 3) Overlooking software defaults: default supports or layer settings may not suit your case. 4) Lacking clear SOPs: without standard procedures different operators produce variable results. Make brief SOPs for slicing, rinsing, curing times, and quality checks.
Alternatives to in-house printing: quick comparison
Outsourcing remains sensible for low-volume or complex prosthetics where specialized finishing is required. Hybrid models work too: in-house models, outsource complex crowns. When comparing third-party labs and machines, weigh total time and control over iterations rather than only per-piece cost.
Implementation checklist for clinics and labs
1) Define three target cases to print weekly. 2) Run a validation protocol for those cases and record fit metrics. 3) Train at least two operators and keep a one-page SOP near the device. 4) Schedule preventive maintenance and log every print for traceability. 5) Confirm supply chain for consumables and parts within your region.
Trust and experience: practical notes from the field
I have worked with mixed teams of dentists and lab techs to bring printing into daily use. Small steps—start with models, then guides, then temporaries—reduce disruption. Track failure modes for the first 50 prints and address the dominant cause first. This pragmatic approach builds confidence among clinicians and keeps lab throughput steady.
Closing synthesis
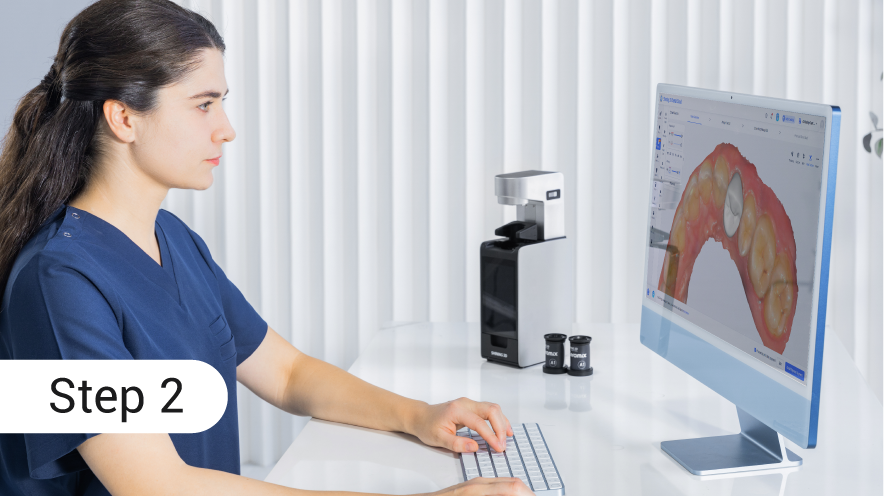
Focus on user needs, measurable validation, and simple procedures. When you match device capability, material choice, and staff training, the workflow becomes predictable and useful for both clinic and lab. Many teams find that integrating established partners like SHINING 3D DENTAL into that process provides the documented materials, validated settings, and local support that make the transition smooth and reliable.